
Welcome back to day two of reveals for Papertrey Ink's November release! Today, we are introducing you to Into the Blooms: Cactus dies + Cover Plate: Stitched Florals die + Inside Greetings: Winter Wonderland stamps + Iconic Christmas stamps and dies + Deliver by Dec. 25th stamps and dies + Ho, Ho, Ho Stencils.


I smooshed Pumice Stone and Black Soot distress inks onto the flower pot then splattered with Black Soot (wanting to go with a distressed look to the finish).
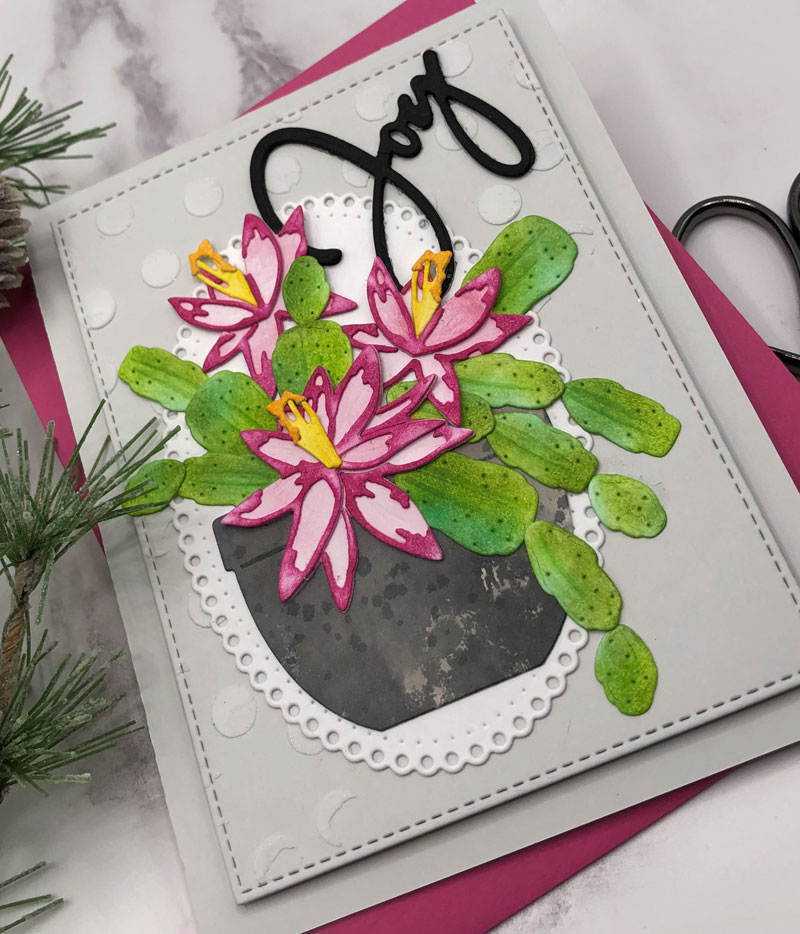

STAMPS: Inside Greetings: Winter Wonderland
INK: Pumice Stone, Black Soot distress inks; Pale Peony, Raspberry Fizz, Harvest Gold, Summer Sunrise; Ocean Breeze, Grassy Knoll, Olive
PAPER: Soft Stone, White, True Black; Bristol Smooth Surface
DIES: Into the Blooms: Cactus, Border Bling: Joy Frame, Love to Layer: Ovals
OTHER: Playful Dots stencil; Liquitex modeling paste; Stitched rectangle die
<-- Inside of card
TIPS:
1. Add texture to your card with pastes and stencils.
2. Layer your sentiment dies with at least 3 layers to give it dimension and sturdiness.
3. Use blending brushes to add the color to the leaves and flowers.


STAMPS: Inside Greetings: Winter Wonderland
INK: Distress inks; Harvest Gold
PAPER: Bristol Smooth Surface, Harvest Gold, Bitty Big: Harvest Gold, White
DIES: Into the Blooms: Cactus, Cover Plate: Stitched Florals, Delicate Doilies, Love to Layer: Rectangles
OTHER: Ho,Ho,Ho stencil, Moonshine sequins
<<--- Inside
TIPS:
1. Use stencils in tone on tone ink and paper for a subtle pattern.
2. Cut a doily die in half to add a delicate detail to the design.
3.
Smoosh a variety of distress inks onto a sheet of water color paper
then cut out the flowers, leaves and vase. It will give you a variety of
color shades with little effort.

This stitched cover plate will be one I grab to use over and over!


INK: Pure Poppy, True Black, New Leaf, Tropical Teal
PAPER: New Leaf, Pure Poppy, White
DIES: Iconic Christmas, Delivered By Dec. 25th, Basic Bookmark 1
OTHER: Ribbon, Gold cord, Jingle bells
That's it for today. Stop back tomorrow for some REALLY amazing scenic die sets!
SUPPLIES


1 comment:
This second Christmas cactus card is gorgeous surprise! I never would have come up with that color combo, but it is so pretty. The tags are great! I have a thing for tags. You can always use more!
Post a Comment